In one of our earlier blogs, we created an Azure Virtual Network Gateway and configured a point-to-site VPN to enable our users to connect to our Azure Virtual network resources. This blog will outline the process for connecting to the Virtual network using the Azure VPN Client.
To do this we need to:
- Ensure the Azure AD Application has been granted the required Admin Consent
- Download the Azure AD VPN Client
- Download the VPN client from the Virtual Network Gateway
Download the Azure AD VPN Client
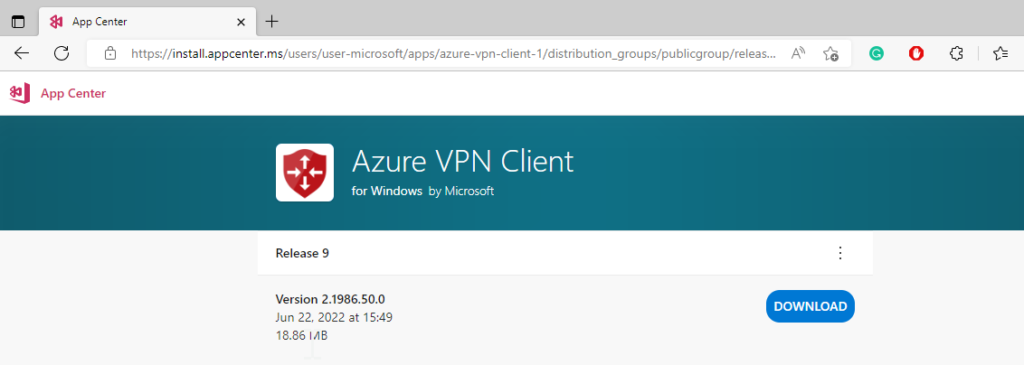
The Azure VPN client for windows can be from the site below, it can also be downloaded from the Microsoft store – but I have found the stand-alone client to be the most stable approach.

Once downloaded, install the client then follow the instructions below to download the client from the point-to-site configuration and connect to the VPN.


Download the VPN client from the Virtual Network Gateway
- Navigate to the virtual network gateway blade in Azure
Virtual network gateways – Microsoft Azure
- Identify the Virtual Network Gateway to be used
- Click the Pont-to-site gateway tab, then click “Download VPN Client” to download the XML file for the VPN.

In the downloaded folder, open the AzureVPN folder, then grab the Azurevpnconfig XML file.

Connect to the VPN using the Azure VPN Client
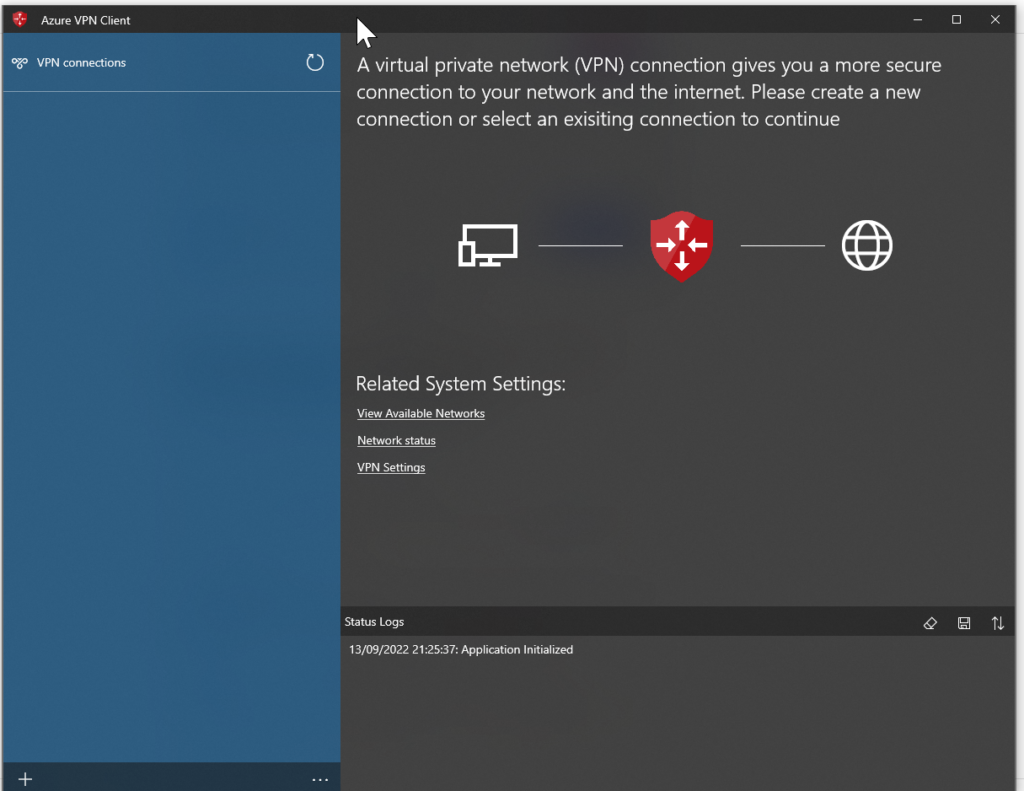
- Open the Azure VPN Client
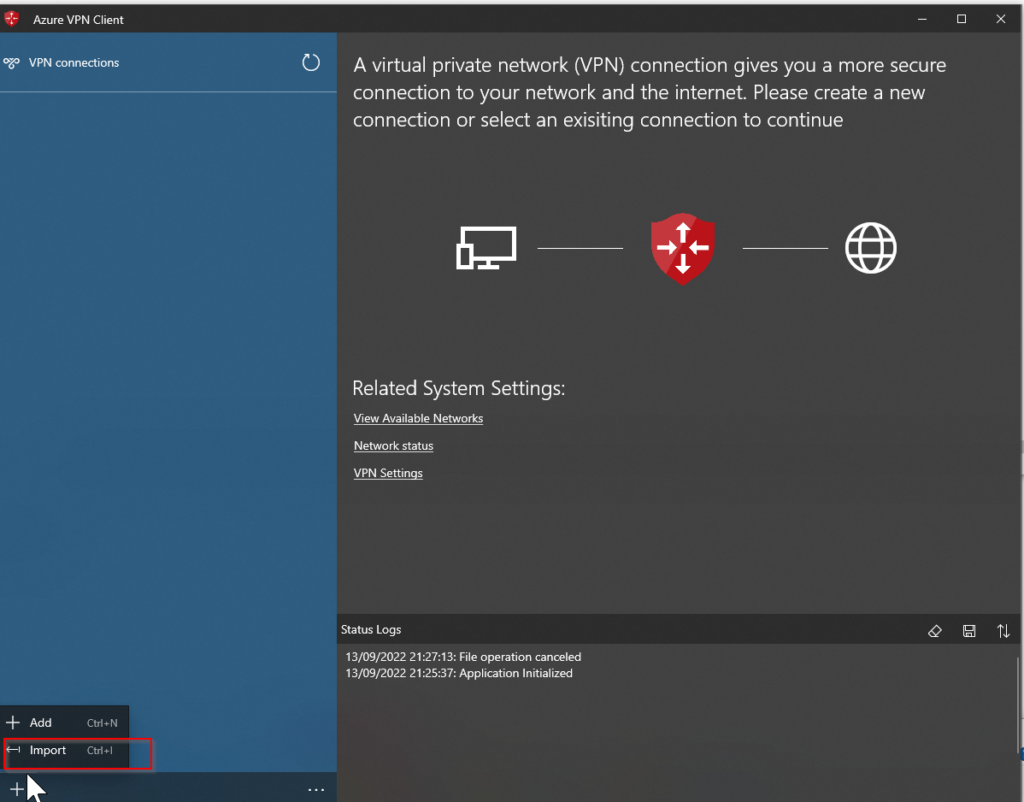
- Click the + sign in the bottom left of the screen, and click import
- Import the XML file from the Point-to-site VPN config

- Once imported, click save

Then click connect, and this will prompt for Azure AD credentials, and that’s it – we should now be connected to the VPN and be able to access any resources in the network associated with the Virtual Network linked to the VPN, as well as resources in any peered VNets.

Sources: