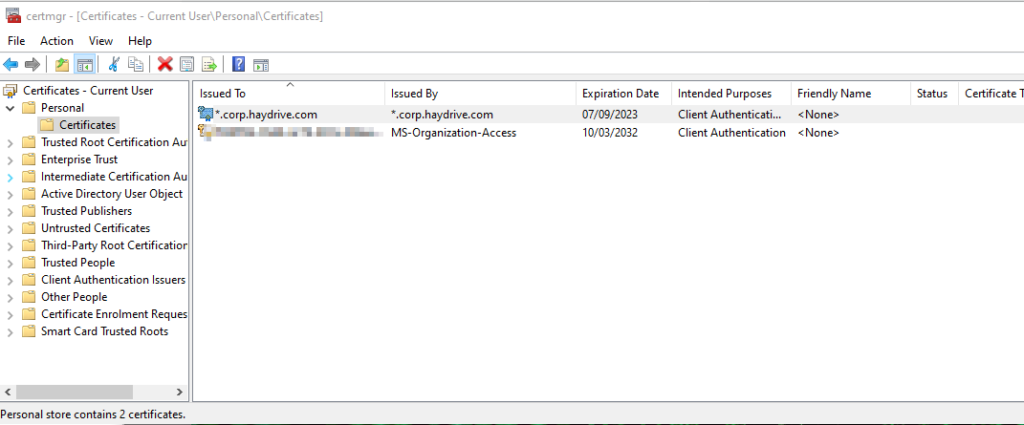
As part of my blog on setting up Azure AD Domain Services (here), there was a requirement to upload a certificate for Secure LDAP, in a corporate setting this would likely be a certificate by a certificate issuing authority, but for my testing purpose, a self-signed cert is more than sufficient. Secure LDAP is essential in this scenario due to ensure that the LDAP connection to AADDS is encrypted.
#####################
#ESTABLISH VARIABLES#
#####################
$GetDate=Get-Date
$PwString = "{1234567891234}"
$AADDSDomainName= "*.corp.haydrive.com"
$ExportFilePath = "C:\Users\OB1\Desktop\corpcert.pfx"

########################
#CREATE AND EXPORT CERT#
########################
$cert = New-SelfSignedCertificate -Subject "CN=$AADDSDomainName" -CertStoreLocation "Cert:\CurrentUser\My" -KeyExportPolicy Exportable -KeySpec Signature -KeyLength 2048 -KeyAlgorithm RSA -HashAlgorithm SHA256 -NotAfter $GetDate.AddDays(365) -KeyUsage DigitalSignature, KeyEncipherment -Type SSLServerAuthentication -DnsName $certname
$mypwd = ConvertTo-SecureString -String $PwString -Force -AsPlainText
Export-PfxCertificate -Cert $cert -FilePath $ExportFilePath -Password $mypwd
Setting up the self-signed certificate:
The certificate must be configured using the same domain name used to configure the Managed AADDS domain, in our case “corp.haydrive.com”.
The PowerShell script above can be used to generate the certificate with a password and export the .pfx file. All the core components for generating the script can be found in the “Create and Export Cert” section, simply add the following variables:
$PwString = Password for the certificate which will be used when applying the certificate to the AADDS instance
$AADDSDomainName = Domain name associated with your AADDS Instance ( cert subject and AADDS domain name must match), this needs to be in the wildcard format *.DomainName.com
$ExportFilePath: Location to export the certificate to, this saves having to export manually from the cert store
Uploading certificate for Secure LDAP in Azure AD Domain Services:
Once we have our certificate, navigate to the AADDS instance in Azure, and in the secure LDAP tab, you can configure settings for Secure LDAP – this is done by basically uploading our newly created certificate.
Once the certificate file (.PFX) has been added and the password provided, click save, and Secure LDAP should be enabled and ready to go.

Post Secure LDAP setup, this certificate can then be imported (Personal store and Trusted Root Store) into any devices required to make a Secure LDAP connection to the managed domain.
