In my blog here(Setup Azure Active Directory (AD) Domain Services – AADDS – HayDrive), I documented the process of creating an Azure AD Domain service managed domain for my environment – in this blog, I will document the process of joining a management Virtual Machine to the domain and using the virtual machine to manage/administer my managed domain.
To access the management console for my AADDS domain we need to
- Connect a VM to the Domain
- Install Active Directory Management services to the VM
If the virtual machine is in Azure we need to ensure that it is in a VNET with connectivity to the AADDS’ VNET. I documented the process for connecting my VM’s VNET with the VNET linked to my AADDS Managed Domain here ( https://haydrive.com/azure-vnet-pairing/)
Joining a Virtual Machine to the Domain
- Navigate to system info on the Server/VM (Control Panel\System and Security\System)
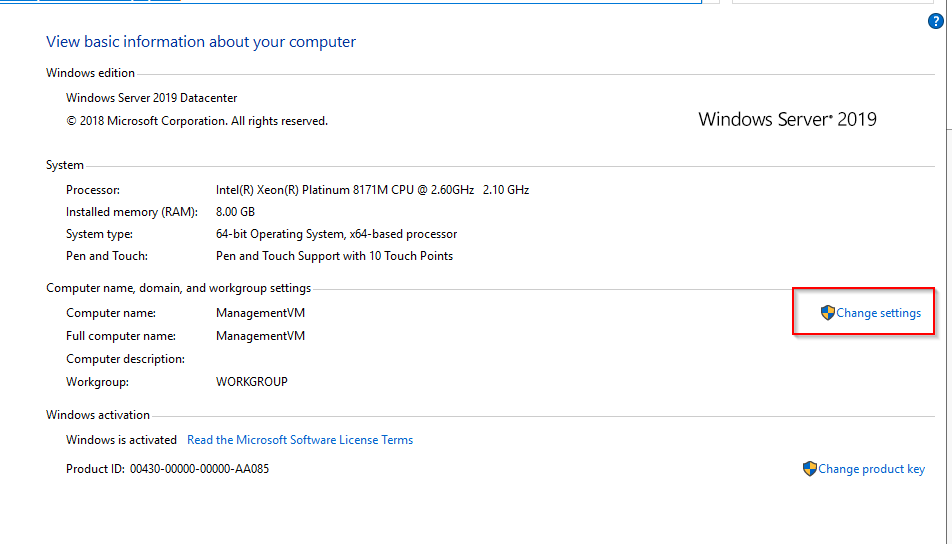
- Click the change settings option
- In the Computer Name Tab click Change
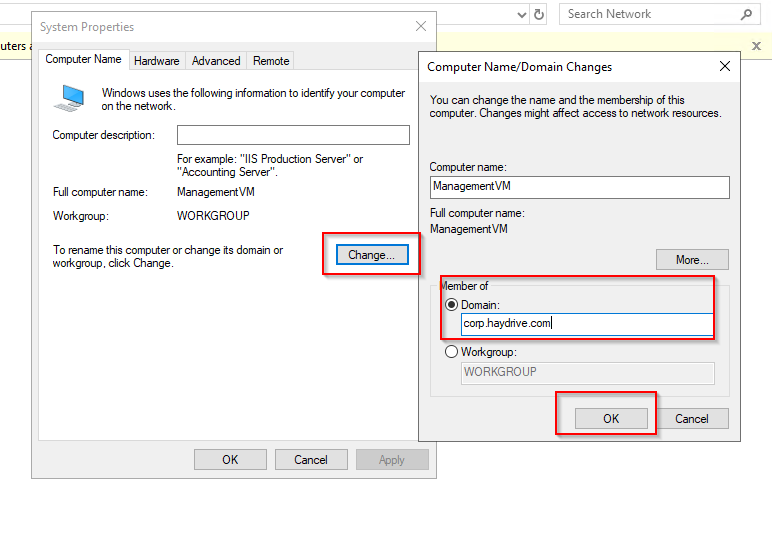
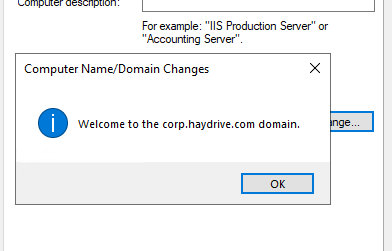
- Then select the Domain toggle ( instead of WorkGroup) and enter the URL for your Managed domain
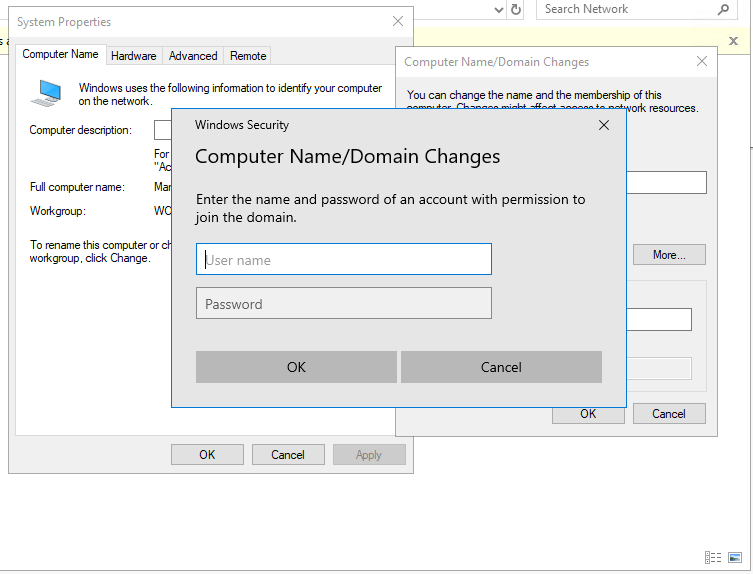
- Enter an Admin credential for the Managed Domain ( this is anyone that’s a member of the security Group ” AAD DC Administrators” ) or with the Domain Services Contributor Permission in Azure
- Remember the Admin needs to be one of the users that have been synced to the AADDS – this can be done by resetting the user’s password.
Install Active Directory Management services to the VM
To install Active Directory Management services to the management VM follow the instructions below:
- On the VM, Open Server Manager
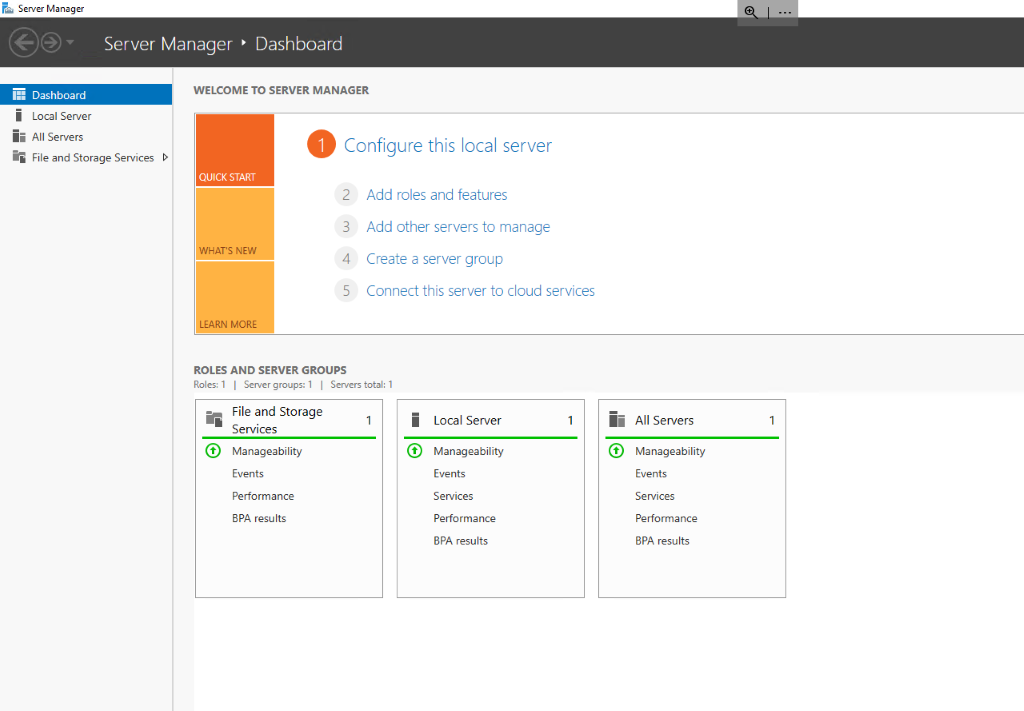
- Select Add roles and features
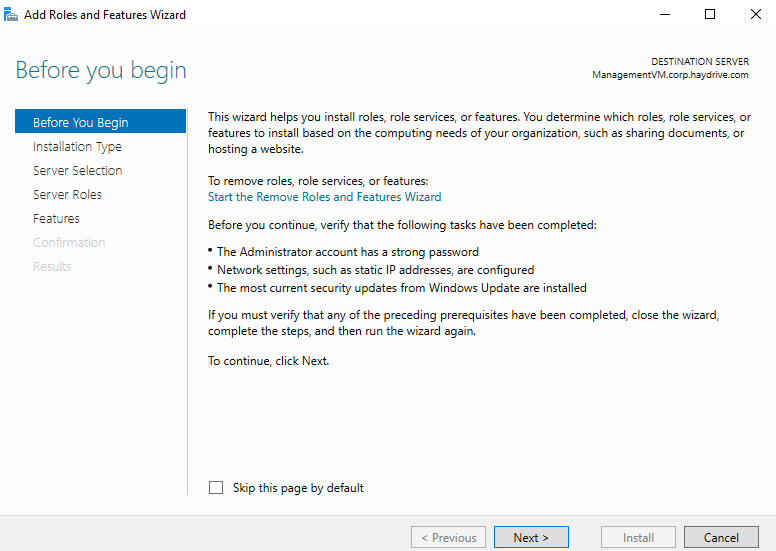
- On the before you begin page, in the Add roles and features wizard, click next
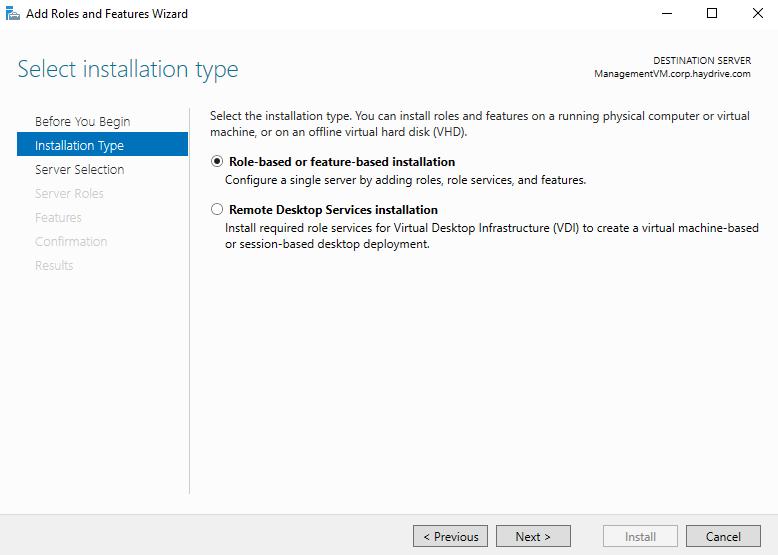
- Select Role-based or feature-based installation, then click next
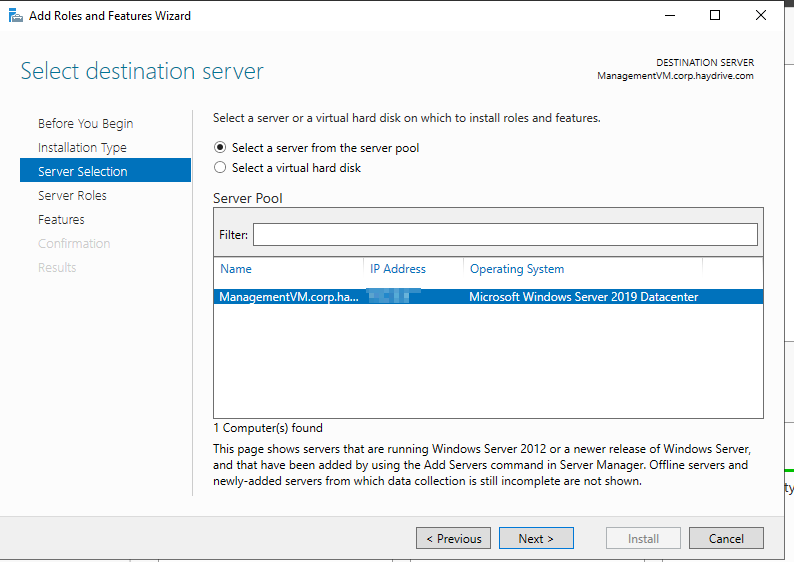
- Select the server from the list of servers and click next
- Click next on the Select Server roles page
- In the features, page expand the RemoteServer Admin Tools option, then expand the Role Admin tools, then select AD DS and LDS Tools
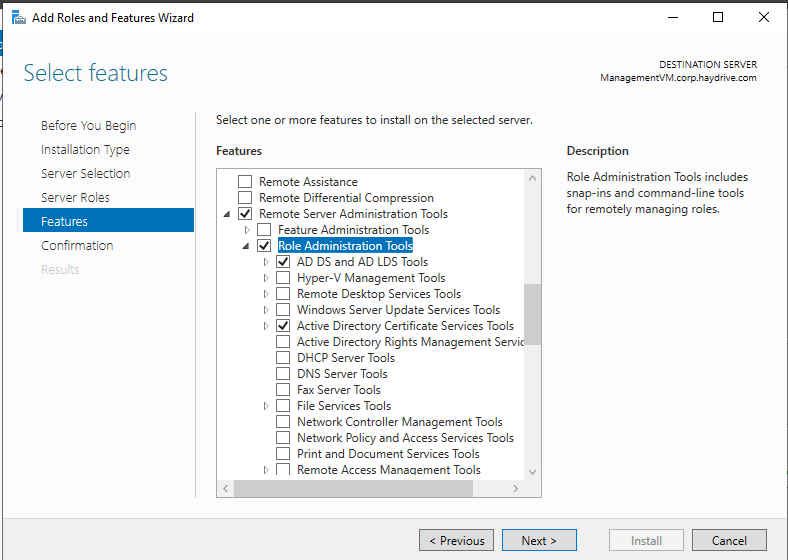
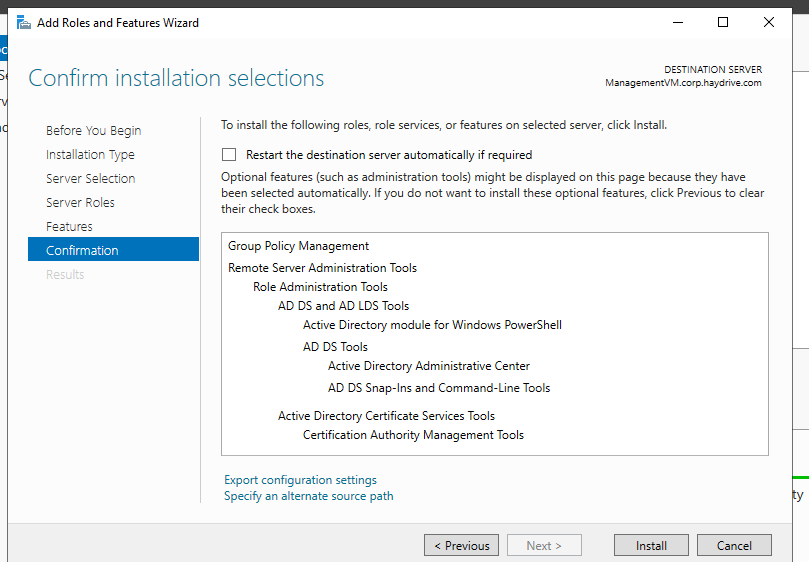
- Click next, and install the selection
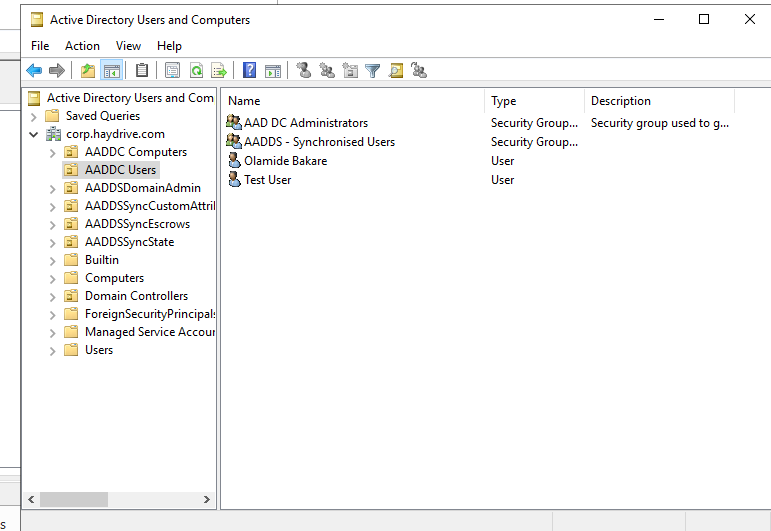
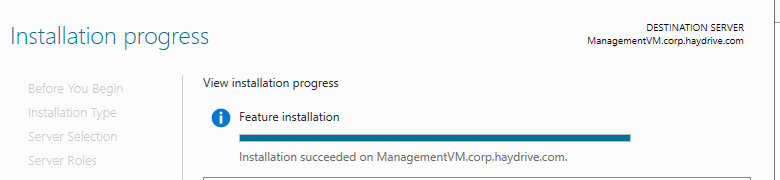
Install will take a few minutes, once complete you should now be able to use the Management Server to Manage AADDS as normal – meaning you should be able to access Active Directory Users and Computers, Group Policy Management, etc.
Screenshot of ADUC: